CXTA and CXTM leverage the unicon framework of device control libaries to define how connections should be established to the devices in the testbed, such as routers, switches, and servers. The unicon framework stores the device connection parameters (protocols, IP addresses, ports, etc) and credentials in a testbed file in YAML format.
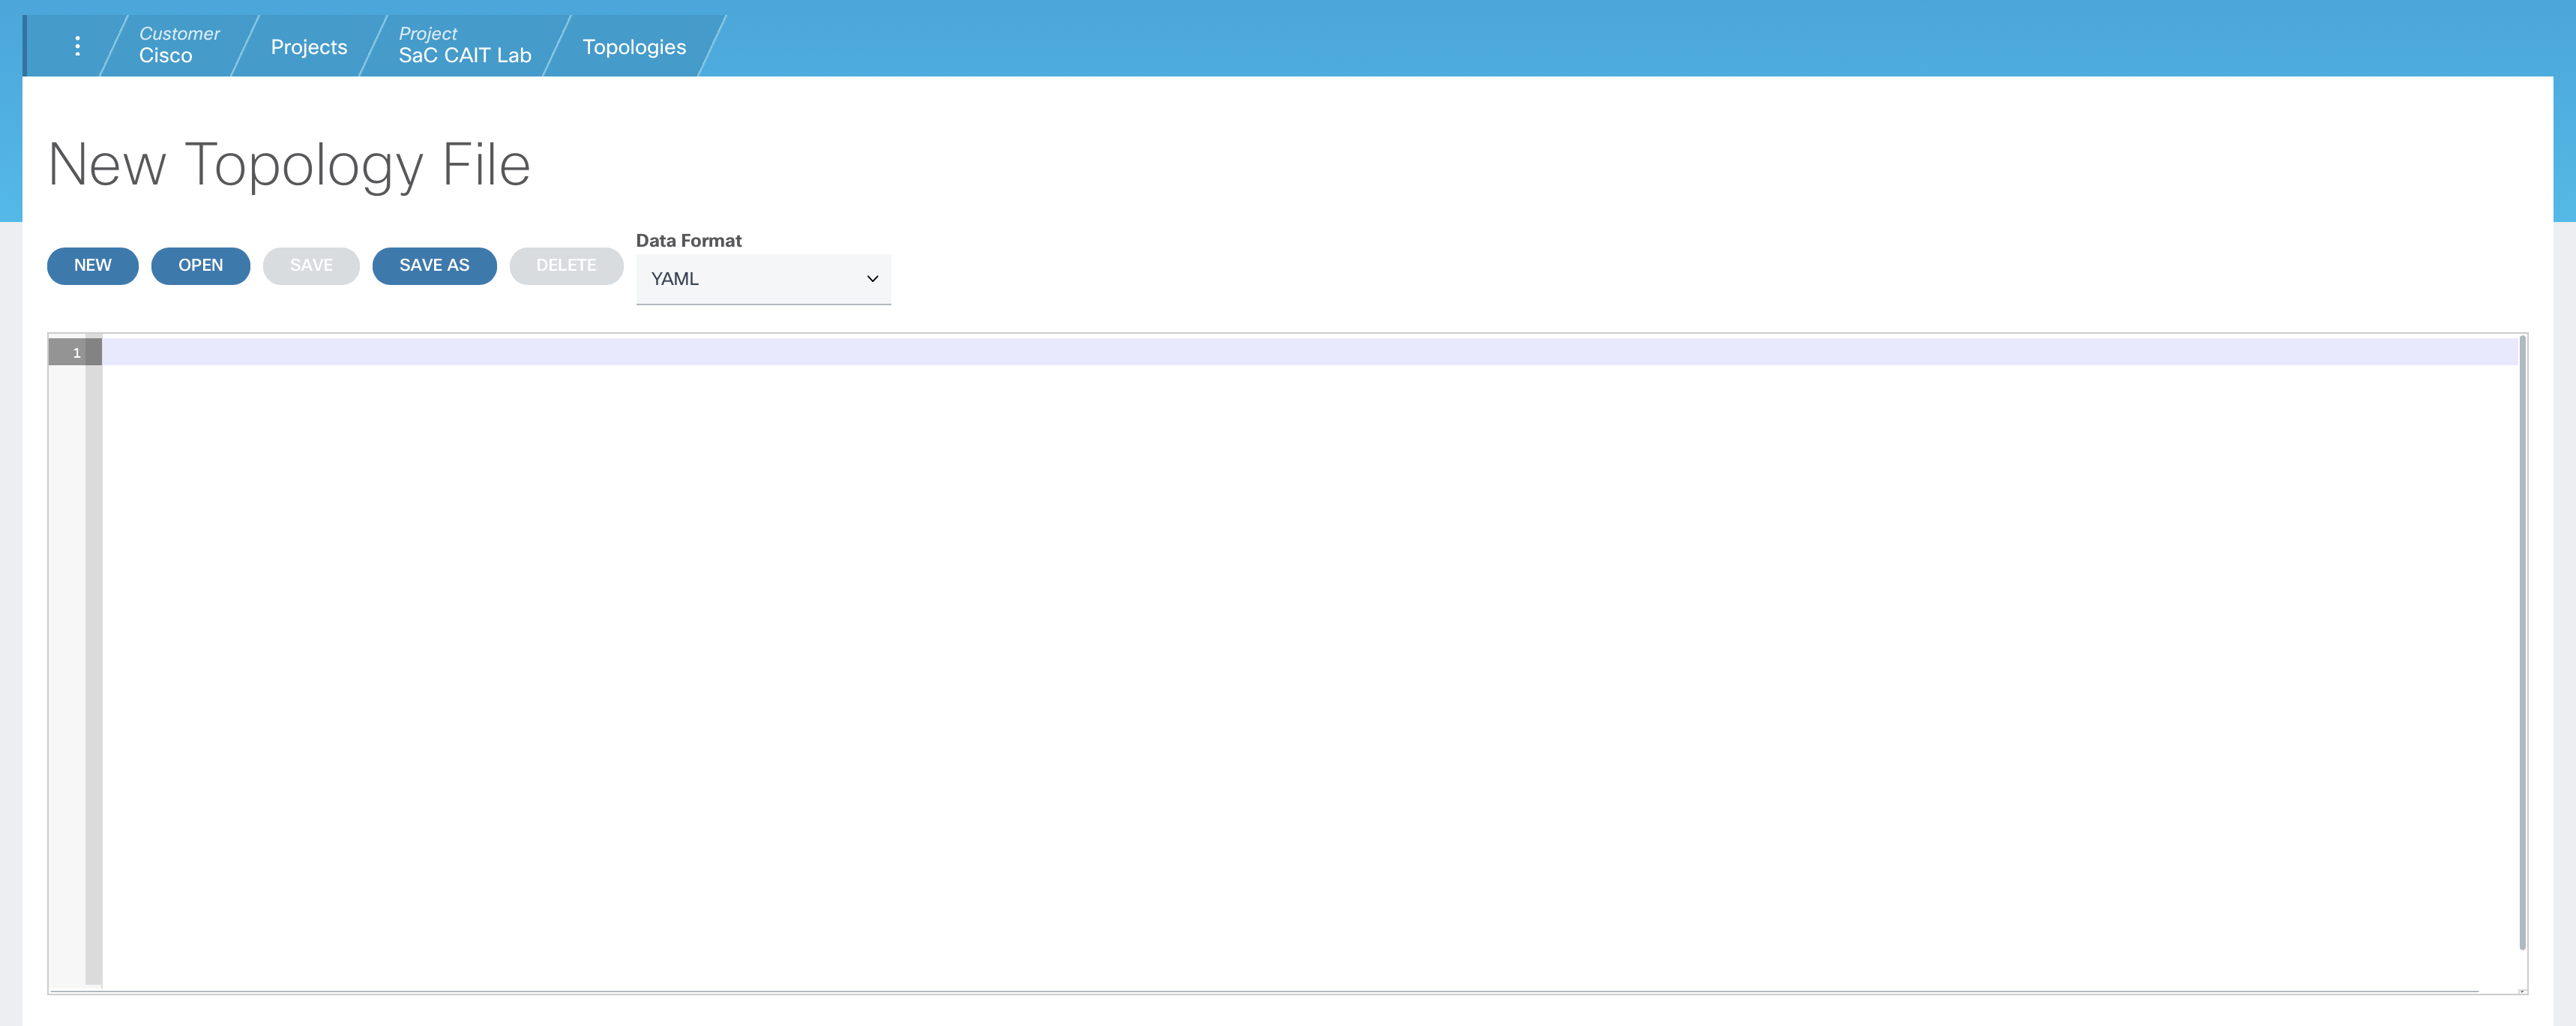
In this section, you'll create your own topology file through the Topologies page.
Return to the sidebar.
Upon navigating to Topologies, you will see a blank New Topology File field.
testbed:
  name: SaC CAIT Lab Topology
  alias: SaC CAIT Lab
  credentials:
    default:
      username: admin
      password: C1sco.123
devices:
  apic1:
    os: apic
    connections:
      defaults:
        via: ssh
      ssh:
        protocol: ssh
        ip: 10.15.255.41
        port: 22
      rest:
        protocol: https
        ip: 10.15.255.41
        port: 443
        username: user07
        password: c1sco123
  apic2:
    os: apic
    connections:
      defaults:
        via: ssh
      ssh:
        protocol: ssh
        ip: 10.15.255.42
        port: 22
      rest:
        protocol: https
        ip: 10.15.255.42
        port: 443
        username: user07
        password: c1sco123
  apic3:
    os: apic
    connections:
      defaults:
        via: ssh
      ssh:
        protocol: ssh
        ip: 10.15.255.43
        port: 22
      rest:
        protocol: https
        ip: 10.15.255.43
        port: 443
        username: user07
        password: c1sco123
  C220-FCH2242V0RC:
    alias: apic1-cimc
    type: ucs
    os: cimc
    connections:
      defaults:
        via: ssh
      ssh:
        protocol: ssh
        ip: 10.15.255.44
  C220-FCH2242V0RL:
    alias: apic2-cimc
    type: ucs
    os: cimc
    connections:
      defaults:
        via: ssh
      ssh:
        protocol: ssh
        ip: 10.15.255.45
  C220-FCH2242V0T8:
    alias: apic3-cimc
    type: ucs
    os: cimc
    connections:
      defaults:
        via: ssh
      ssh:
        protocol: ssh
        ip: 10.15.255.46
  L1:
    connections:
      defaults:
        via: console
      console:
        protocol: ssh
        proxy: apic1
        command: attach L1
        password: C1sco.123
      cli:
        command: attach L1
        proxy:
        - command: bash
          device: apic1
        - command: attach L1
          device: self
    os: nxos
    passwords:
      enable: C1sco.123
      line: C1sco.123
    type: switch
  svs-rtp-tt08-ext-rtr-1:
    os: nxos
    connections:
      defaults:
        via: ssh
      ssh:
        protocol: ssh
        ip: 10.0.249.25
        port: 22
  svs-rtp-tt07-ext-rtr-2:
    os: nxos
    connections:
      defaults:
        via: ssh
      ssh:
        protocol: ssh
        ip: 10.0.249.26
        port: 22
  n9k-fanout1:
    os: nxos
    platform: n9k
    connections:
      defaults:
        via: ssh
      ssh:
        protocol: ssh
        ip: 10.15.255.47
        port: 22
        credentials:
          default:
            username: admin
            password: C1sco.123
  n9k-fanout2:
    os: nxos
    platform: n9k
    connections:
      defaults:
        via: ssh
      ssh:
        protocol: ssh
        ip: 10.15.255.48
        port: 22
        credentials:
          default:
            username: admin
            password: C1sco.123
  SpirentRestDevice:
    os: None
    type: server
    connections:
      rest:
        chassis_ip: 10.0.249.250
        server_ip: 10.0.249.79
        username: Administrator
        session_name: SaC_CAIT_Lab_07
After pasting in the New Topology File above:

In the Save As pop-up:
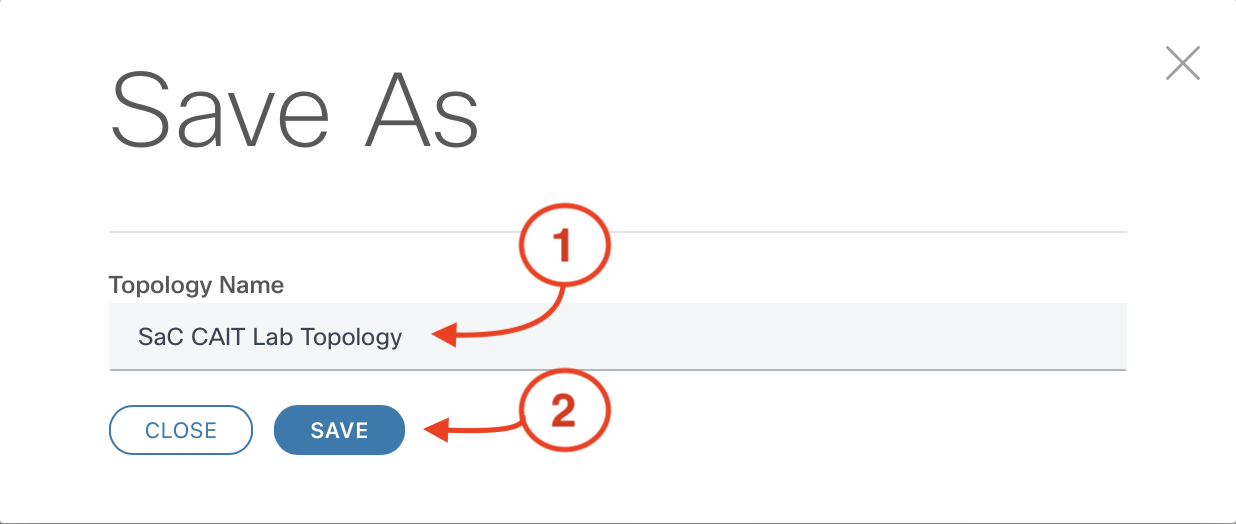
After saving, you will notice that the Topologies pane changes with different options now enabled, such as Save for future updates to manage your topology file.

Return to the sidebar.
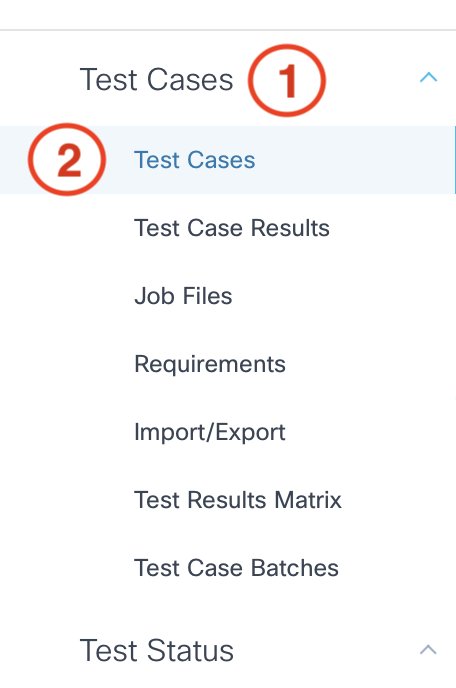
Continue to the next section to edit your test cases to run in your ACI fabric.