Now that you've successfully created a Topology file, you'll add parameters to the test cases in your project to run in your specific ACI environment. Well-written test case job files will not hard-code values. Instead, they will use parameters and Topology files to run in different environments.
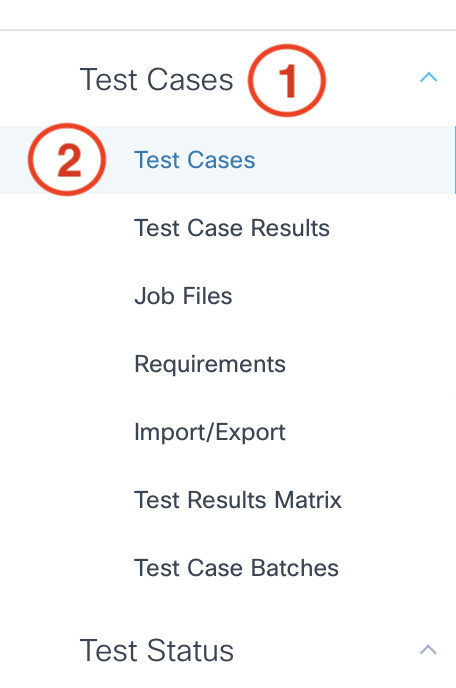
From your project's Test Cases page:


NOTE: You may need to scroll down to see the Parameter File section.
---
apic:
  tenants:
    - name: pod07
      l3outs:
        - name: pod07-l3out1
          vrf: pod07-vrf1
          external_endpoint_groups:
            - name: pod07-ext-epg1
              subnets:
                - prefix: 0.0.0.0/0
          expected_state:
            learned_prefixes:
              - prefix: 0.0.0.0/0
                route_type: external
                source_protocol: bgp
                administrative_distance: 20
                learned_node_ids:
                  - 1201
                  - 1202


testdata:
  global:
    apic_under_test: apic1

Return to the sidebar.
From your project's Test Cases page:
---
apic:
  tenants:
    - name: pod07
      bridge_domains:
        - name: pod07-bd1
          vrf: pod07-vrf1
          subnets:
            - ip: 10.1.107.1/24
              public: true
          l3outs:
            - pod07-l3out1


testdata:
  global:
    apic_under_test: apic1
  verify_routes_advertised_by_aci_are_learnt_on_external_l3_nxos_device:
    node: L1
    l3_nxos_device: n9k-fanout1
    subnets:
      - tenant: pod07
        vrf: pod07-vrf1
        bridge_domain: pod07-bd1
        bd_subnet: 10.1.107.1/24
        scope: public
        l3out: pod07-l3out1
        internal_subnet: 10.1.107.0/24
        internal_ip: 10.1.107.1
        source_protocol: bgp
        external_vrf: pod07-external

Return to the sidebar.
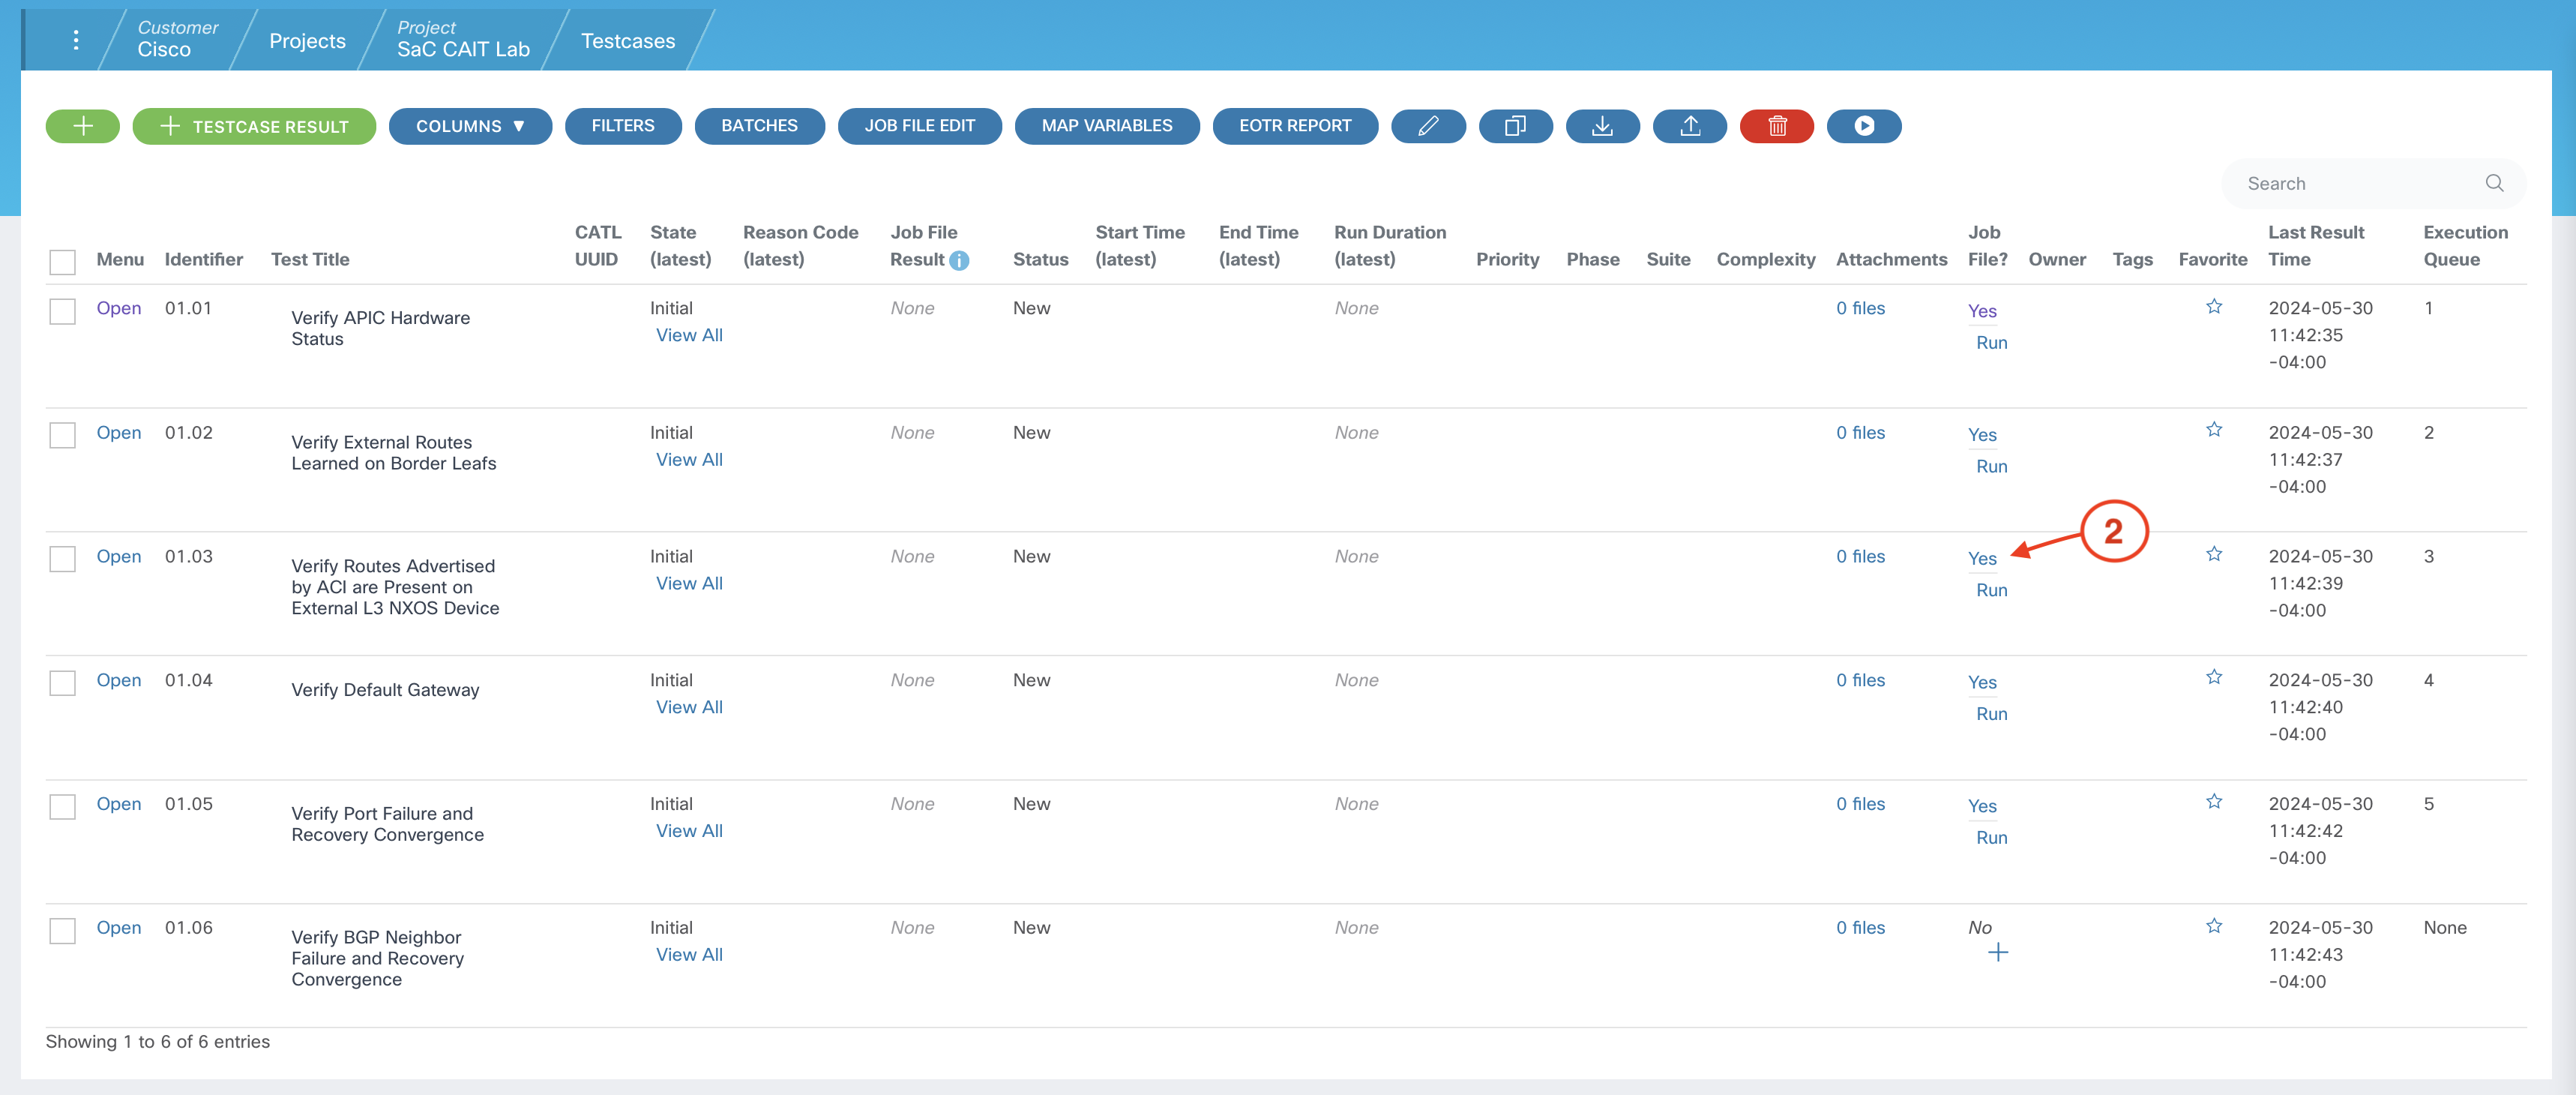
From your project's Test Cases page:
---
apic:
  tenants:
    - name: pod07
      bridge_domains:
        - name: pod07-bd1
          subnets:
            - ip: 10.1.107.1/24
              public: true
          l3outs:
            - pod07-l3out1
      l3outs:
        - name: pod07-l3out1
          vrf: pod07-vrf1
          external_endpoint_groups:
            - name: pod07-ext-epg1
              subnets:
                - prefix: 0.0.0.0/0
              contracts:
                consumers:
                  - pod07-contract1
      application_profiles:
        - name: pod07-ap1
          endpoint_groups:
            - name: pod07-epg1
              bridge_domain: pod07-bd1
              contracts:
                providers:
                  - pod07-contract1


testdata:
  global:
    apic_under_test: apic1
  verify_default_gateway:
    device: n9k-fanout1
    device_vrf: pod07-external
    node: L1
    l3outs:
      - next_hop: [192.168.107.1, 192.168.107.3]
        host_ip: 10.1.107.1
        endpoint_group: pod07-epg1
        application_profile: pod07-ap1
        tenant: pod07
        contract: pod07-contract1
        bridge_domain: pod07-bd1
        bd_subnet: 10.1.107.1/24
        scope: public
        l3out: pod07-l3out1
        vrf: pod07-vrf1
        l3out_prefix: 0.0.0.0/0
        external_epg: pod07-ext-epg1
        external_epg_contract: pod07-contract1

Return to the sidebar.
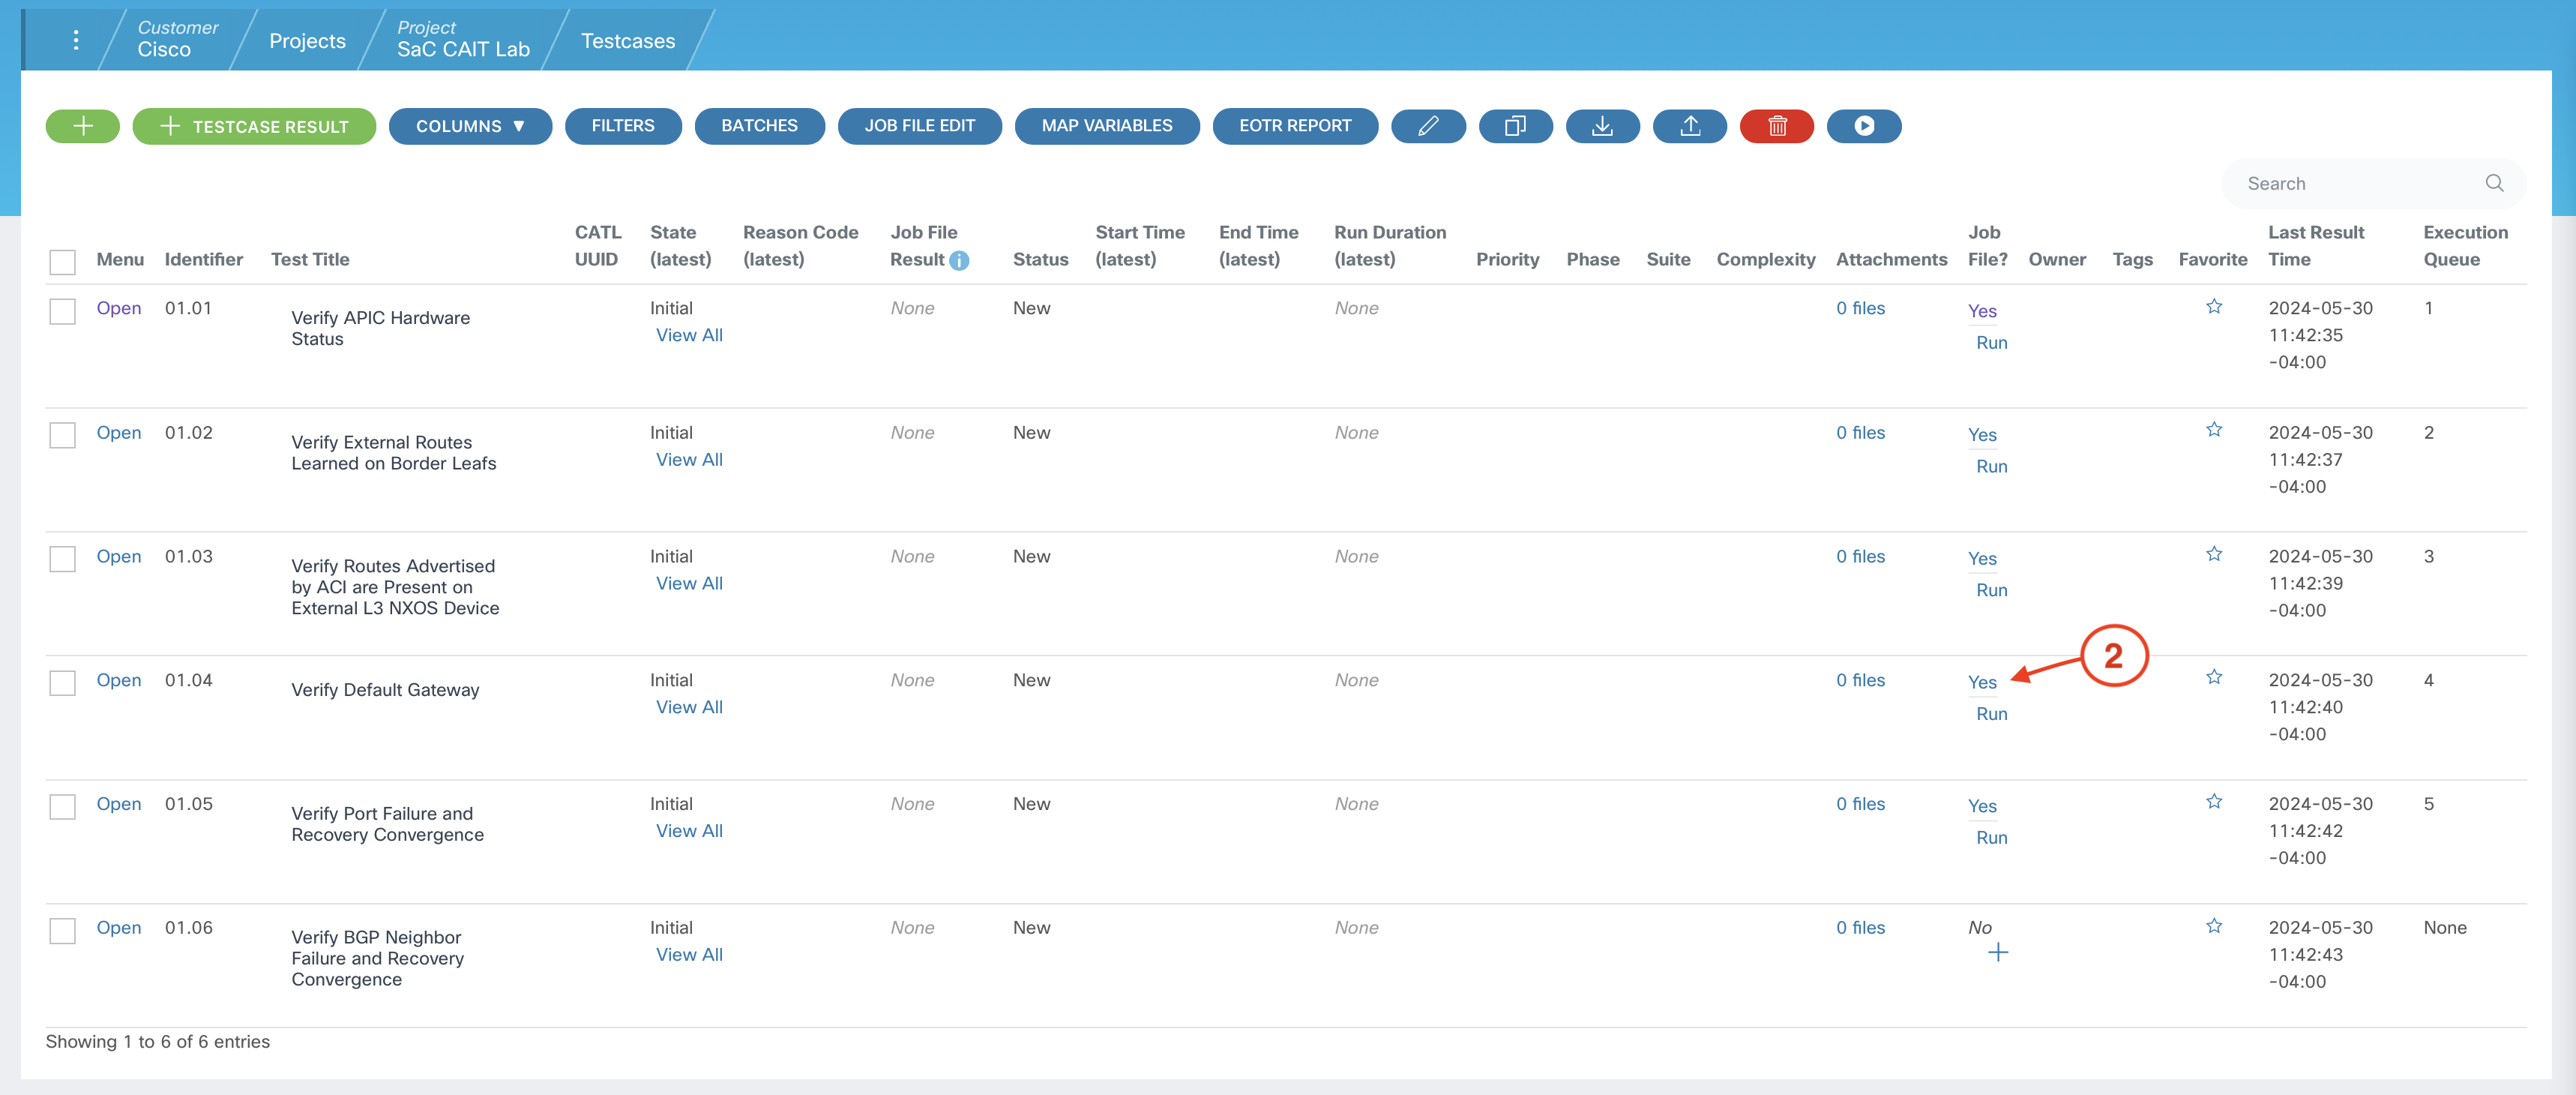
From your project's Test Cases page:
FANOUT: n9k-fanout1

spirent_config_file: /tmp/LABATO-2205-user07.xml

streamblocks:
  - pod07_1107-107
  - pod07_107-1107

INTERFACE: 1/33

EXPECTED_FAILURE_CONVERGENCE: 50
EXPECTED_RECOVERY_CONVERGENCE: 1

FAILURE_EVENT_FILE_NAME: vPC-Member-Link-Failure.csv
RECOVERY_EVENT_FILE_NAME: vPC-Member-Link-Recovery.csv

Return to the sidebar.
Continue to the next section to create the Job File and parameters for the last test case in your project.