Introduction Services as Code (SaC) CXTM Basics CXTM Projects CXTM Test Cases CXTM Test Automation CXTM Batches Setup GitLab CI/CD Configure L3Out Test Results CXTM Reporting Continue your Education Edit the GitLab CI File
Now that you've added the API Key to the GitLab Environment Variables,
it's time to add another stage to your .gitlab-ci.yml file to run these test cases in your pipeline after the configuration
changes are applied to the ACI fabric.
Step 1 - Return to the VS Code Server
Return to the VS Code Server already open in your browser or use the link below:
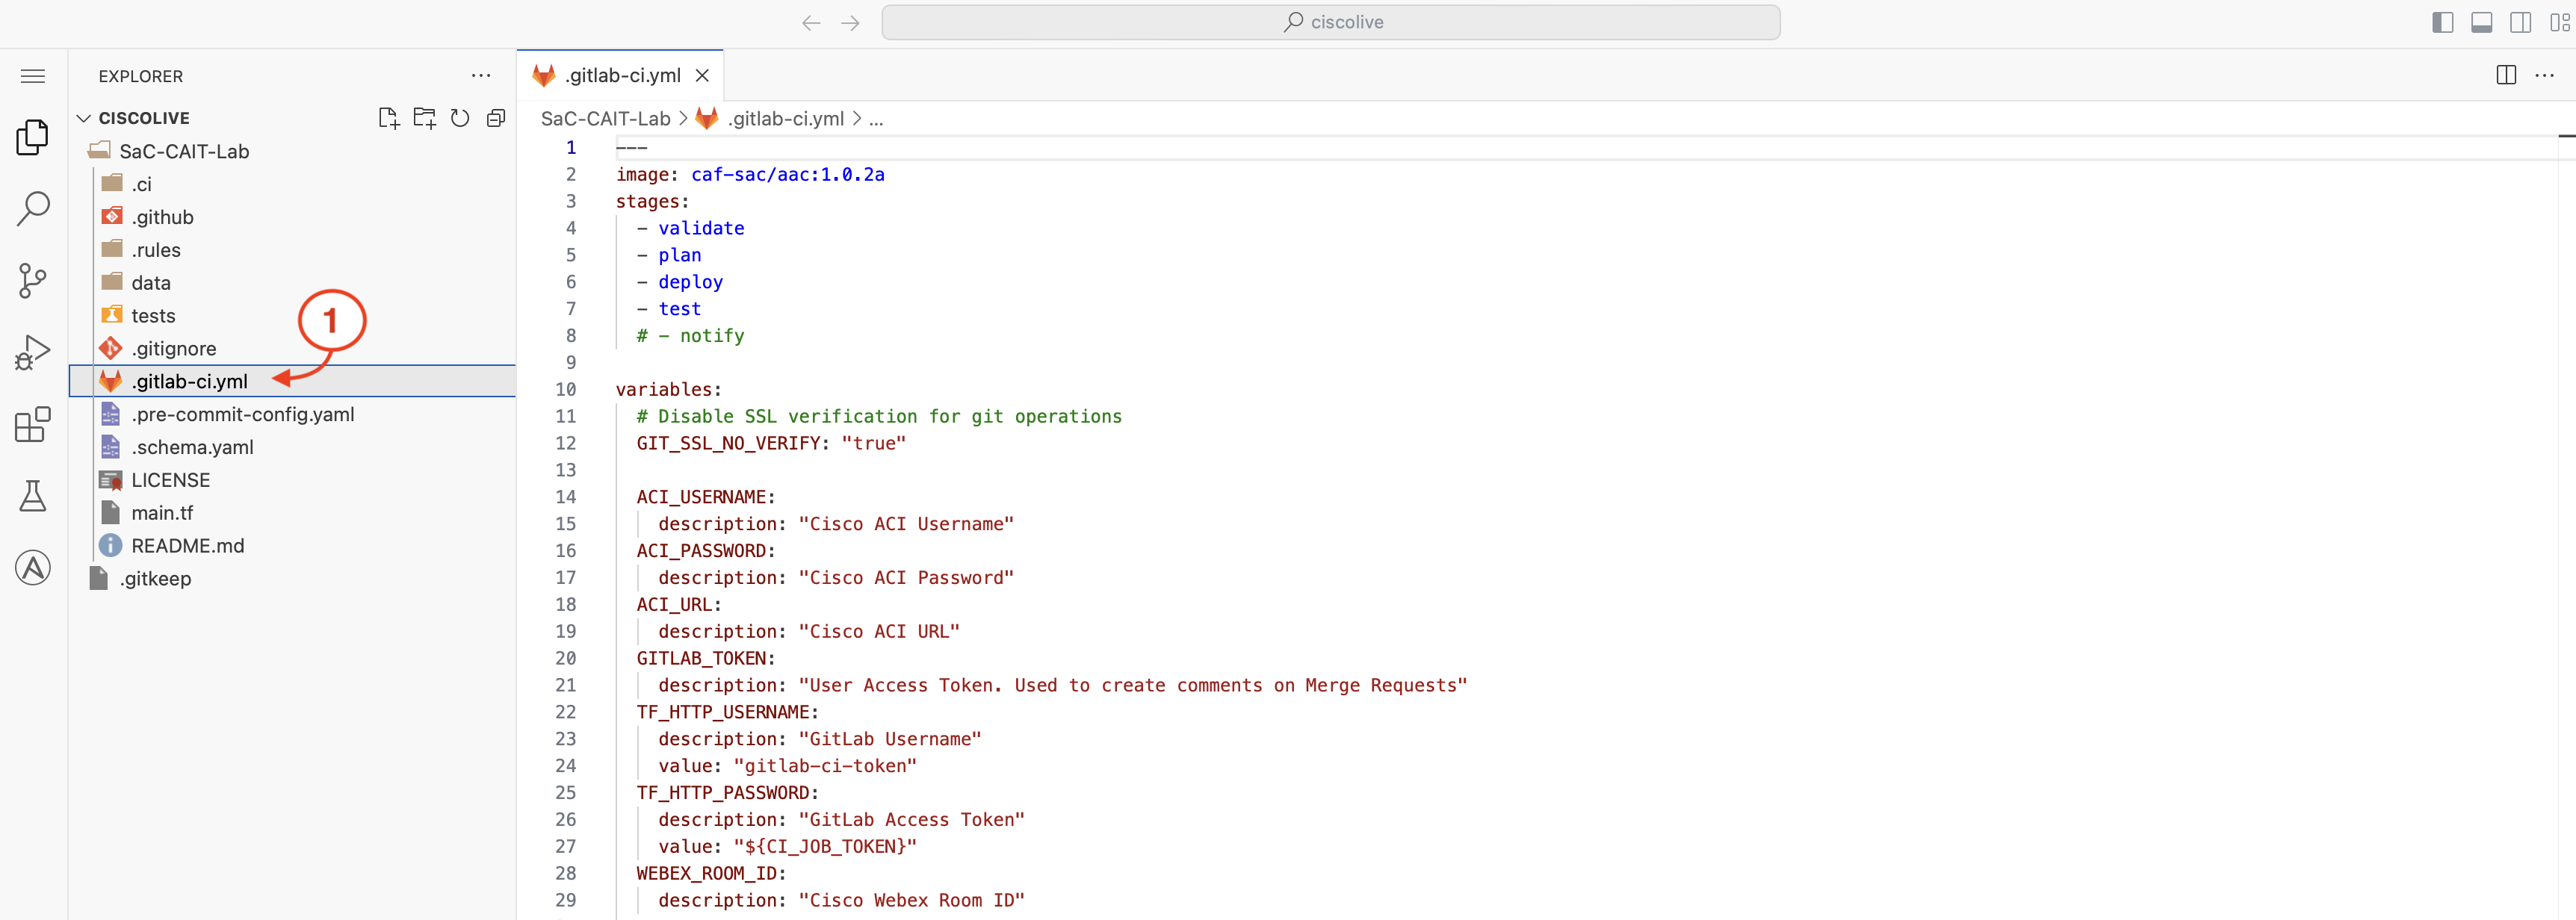
Step 2 - Edit the .gitlab-ci.yml file
From VS Code Server:
Click on the .gitlab-ci.yml file in the root of your GitLab repository to open it in the editor.
Copy the following code to line 8 of the .gitlab-ci.yml file to add the cxtm stage to your pipeline, between - test and # - notify .
.gitlab-ci.yml
- cxtm
Confirm that stages: in your .gitlab-ci.yml file matches the following before moving on.
Copy the following code to lines 132-140 of the .gitlab-ci.yml file to configure the cxtm stage of your pipeline.
.gitlab-ci.yml
cxtm-test:
  stage: cxtm
  when: always
  script:
    - cxtm-mgr batch --host $CXTM --insecure run --abort-on-failure <batch id>
  dependencies:
    - test-integration
  only:
    - main
Replace <batch id> on line 136 above with the CXTM batch ID you saved from the previous section.
Press Ctrl + s to save the file.
Continue to the next section to apply your tenant's L3Out configuration and run your tests in the pipeline.