Portions of the baseline configuration of the ACI fabric have been pre-configured for you. In this section, you will only create the configurations required at a tenant level.
You will leverage VS Code Server to create the configuration files. The configuration files will be created in the data directory of the GitLab repository.
Step 1 - Navigate to VS Code Server
The VS Code Server is a web-based IDE that provides a development environment for the lab.
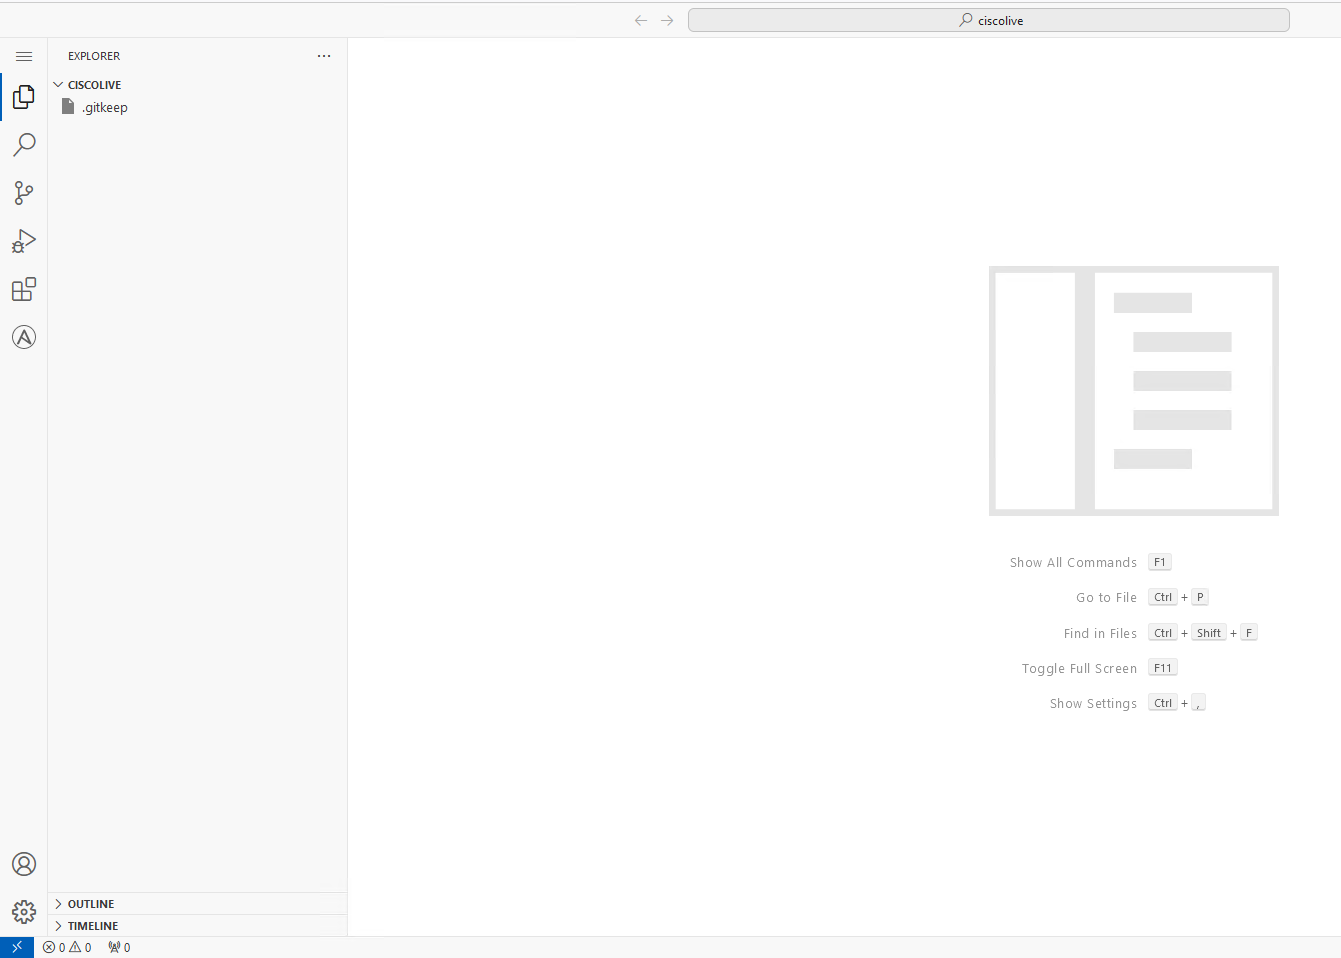
Click on the link below to access the VS Code Server.
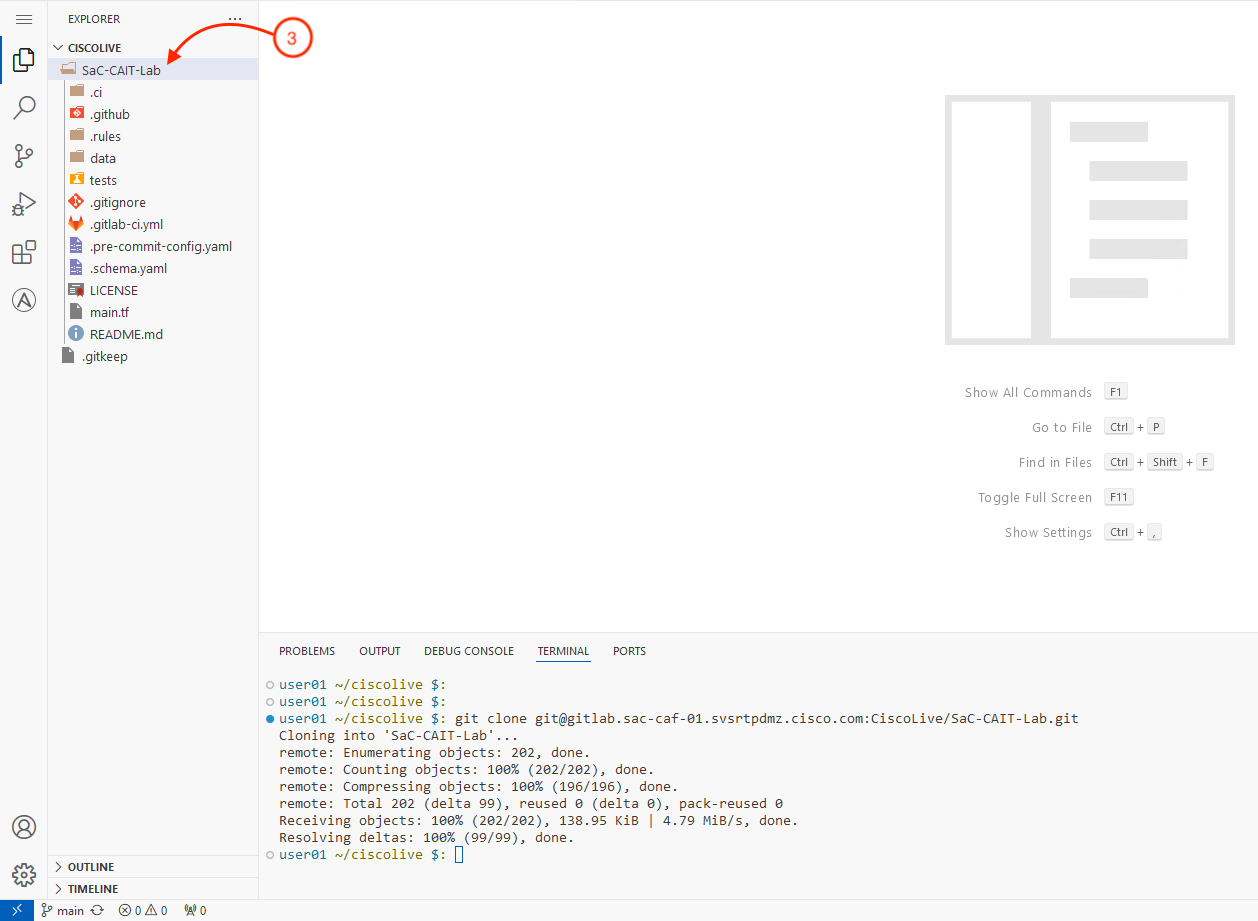
Upon successfull cloning of the repository, the files from the repository will be visible and accessible from the VS Code Server.
Click on the SaC-CAIT-Lab folder to view the cloned files.
Change directory to the repository SaC-CAIT-Lab folder.
cd SaC-CAIT-Lab
Bash
Step 3 - Create access_policies.nac.yaml
You will create the access_policies.nac.yaml file in the data directory. This file will define the physical and routed domains, VLAN pools, AAEPs, interface policies,
and interface profiles for the leaf switches in the ACI fabric.
Copy and paste the below command in the VS Code Server terminal window to create the access_policies.nac.yaml file in the data directory.
code-server -r data/access_policies.nac.yaml
Bash
Copy the following code into your newly created access_policies.nac.yaml file.
Press Ctrl + s to save the access_policies.nac.yaml file.
Warning
Be sure to save your file! Not saving will result in your code not executing.
Step 4 - Create tenant.nac.yaml
Next, you will create a second configuration file, tenant.nac.yaml, in the data directory. This file will define the tenant, VRF, bridge domain, application profile,
endpoint group, contracts, and filters for the ACI fabric.
Copy and paste the below command in the VS Code Server terminal window to create the tenant.nac.yaml file in the data directory.
code-server -r data/tenant.nac.yaml
Bash
Copy the following code into your tenant.nac.yaml file.
Be sure to save your file! Not saving will result in your code not executing.
Step 5 - Apply tenant configuration
Next, you will commit and push the configuration files from local to the remote repository in GitLab. This will trigger the
pipeline to apply the tenant configuration changes to the ACI fabric.
Perform a git add of the files created. Copy and paste the below command in the VS Code Server terminal window to add the files.
Next, perform a git commit of the files to the repository. Copy and paste the below command in the VS Code Server terminal window to commit the files.
git commit -am "Added tenant configuration files"
Bash
Finally, perform a git push of the files to the remote repository. This will automatically trigger the pipeline to apply the configuration changes to the ACI fabric.
Copy and paste the below command in the VS Code Server terminal window to push the files.
git push
Bash
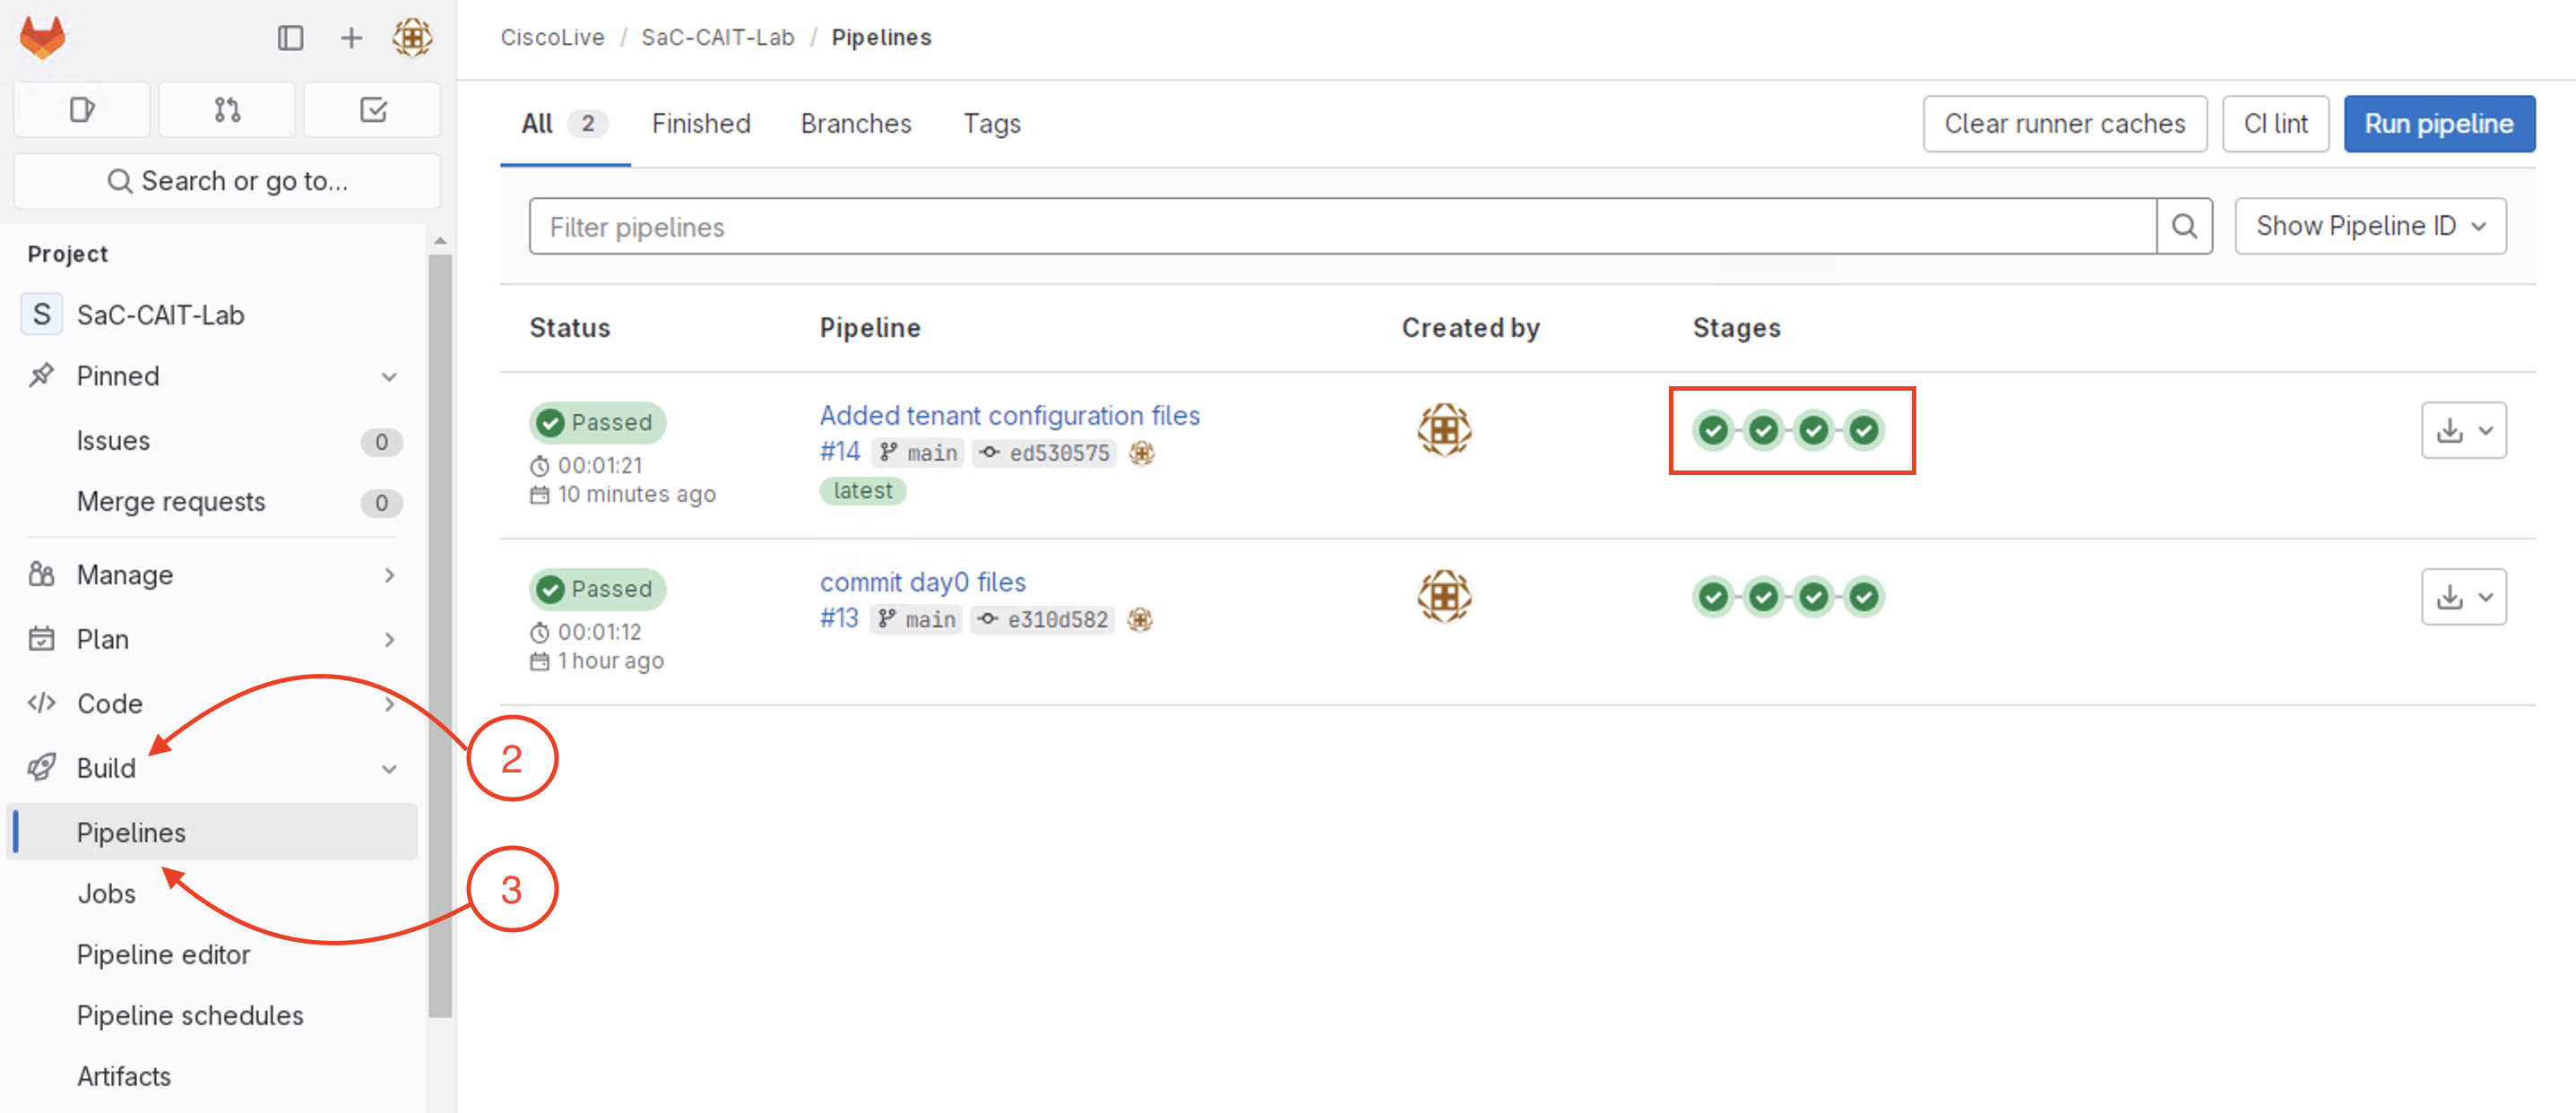
Step 6 - Review the GitLab pipeline execution
The pipeline should successfully execute all the four stages after the git push.
If for any reason the pipeline is failing, please check with your proctor before moving to the next step
Step 7 - Review the APIC for tenant configuration
With the successfull completion of the pipeline execution, the tenant configuration should be applied to the ACI fabric.
Login back to the APIC and navigate to Tenants > ALL TENANTS to view your tenant " pod10. "
Double click on your tenant " pod10 " to view additional details of the tenant configuration.
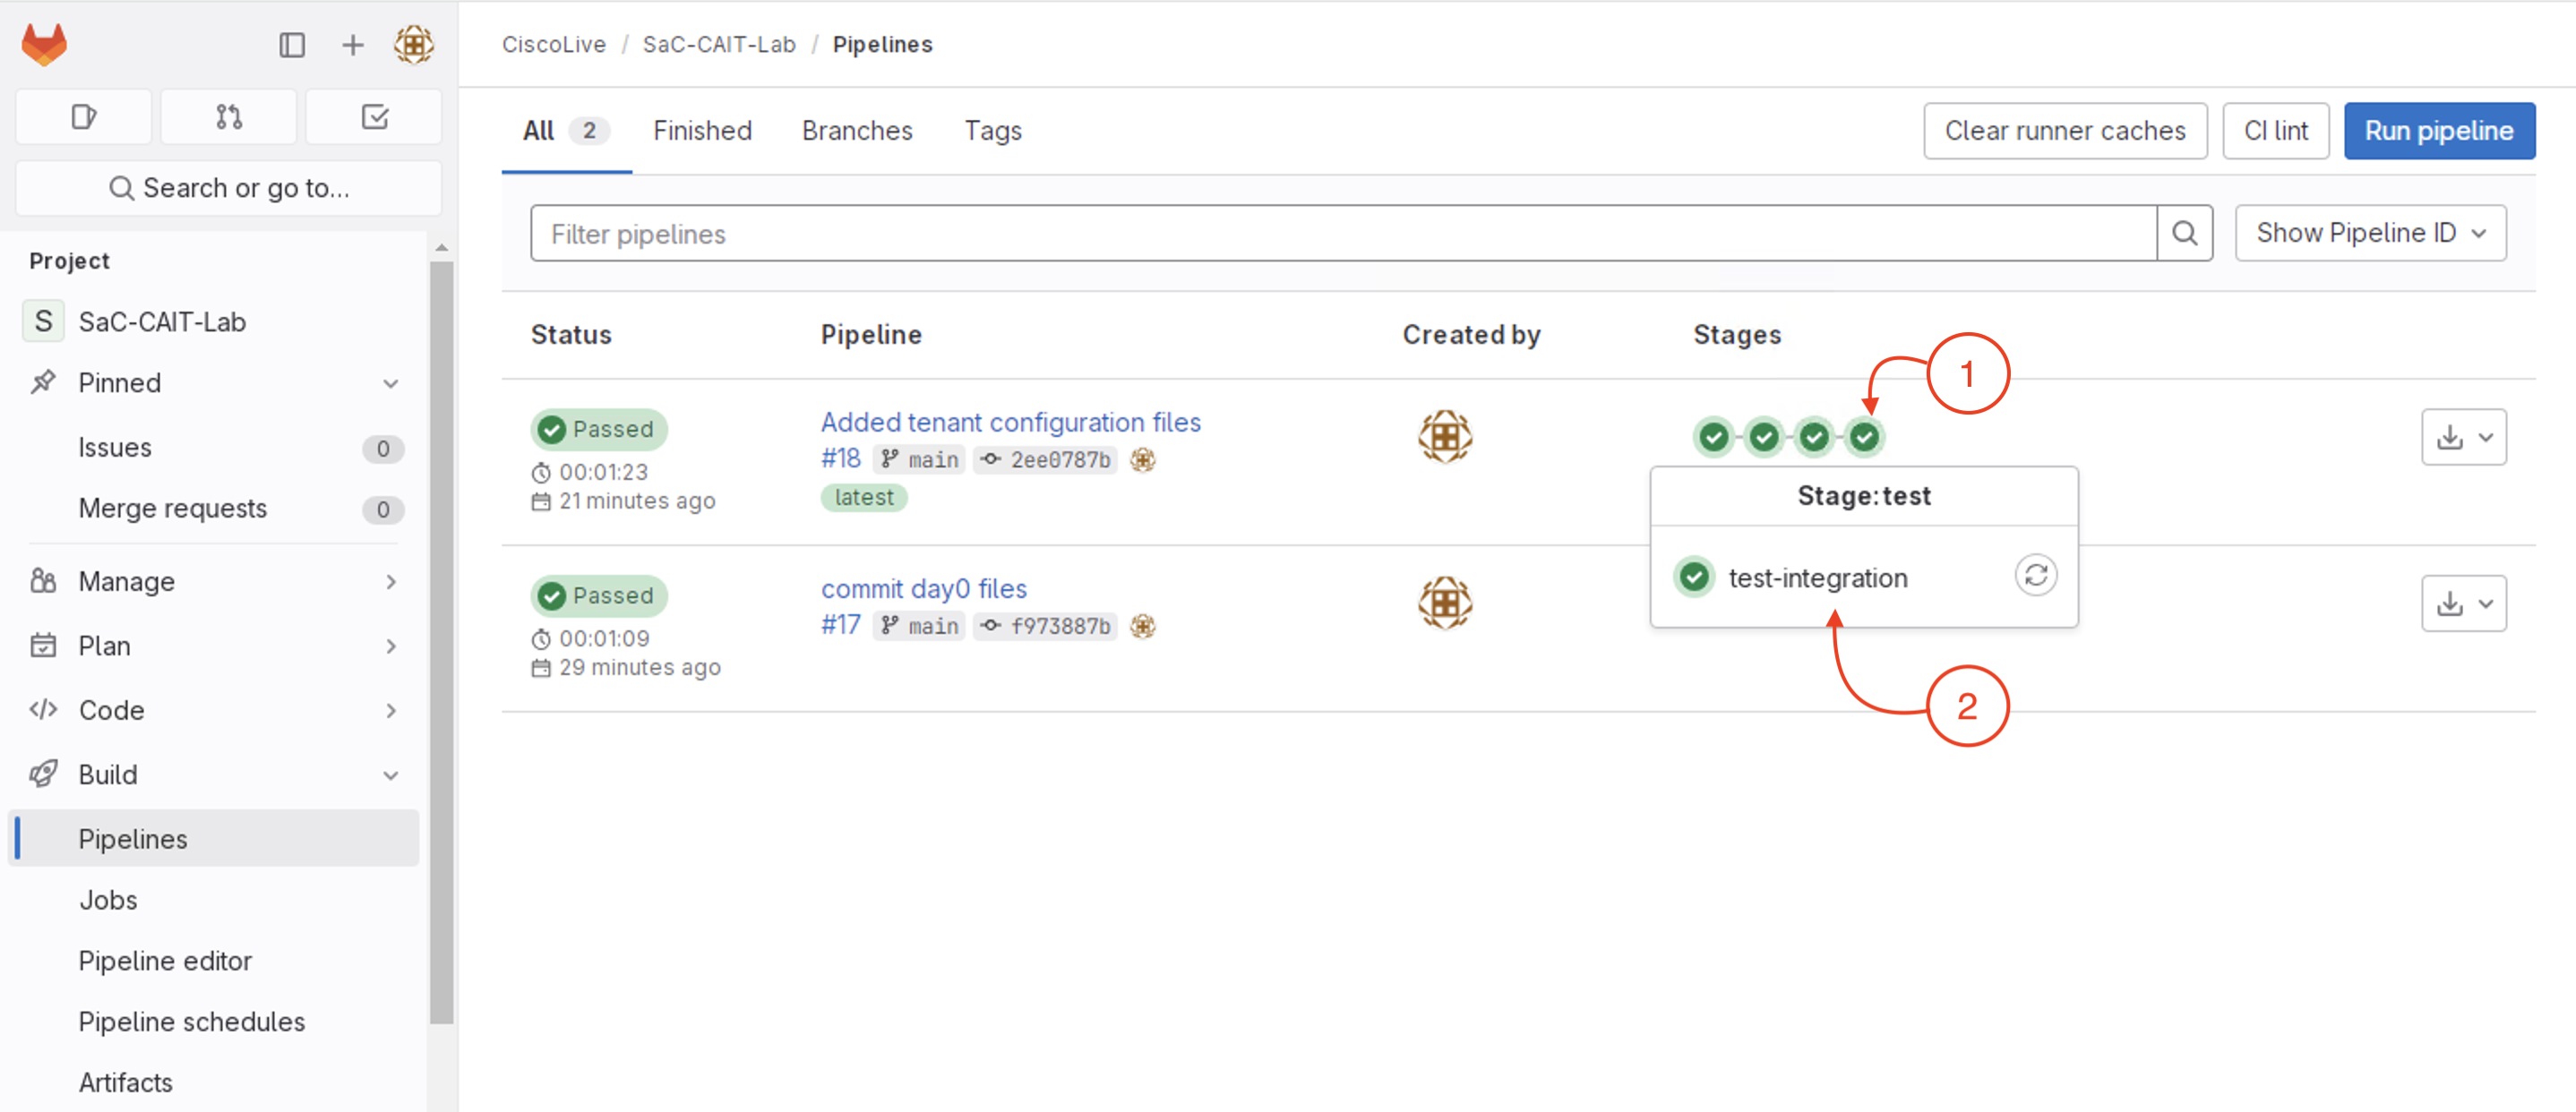
Step 8 - Review test-integration pipeline stage
Review the test-integration stage of the pipeline and associated test case results.
Click on the Stage:test of the pipeline.
Then, click on the test-integration step asscoaited with the stage.
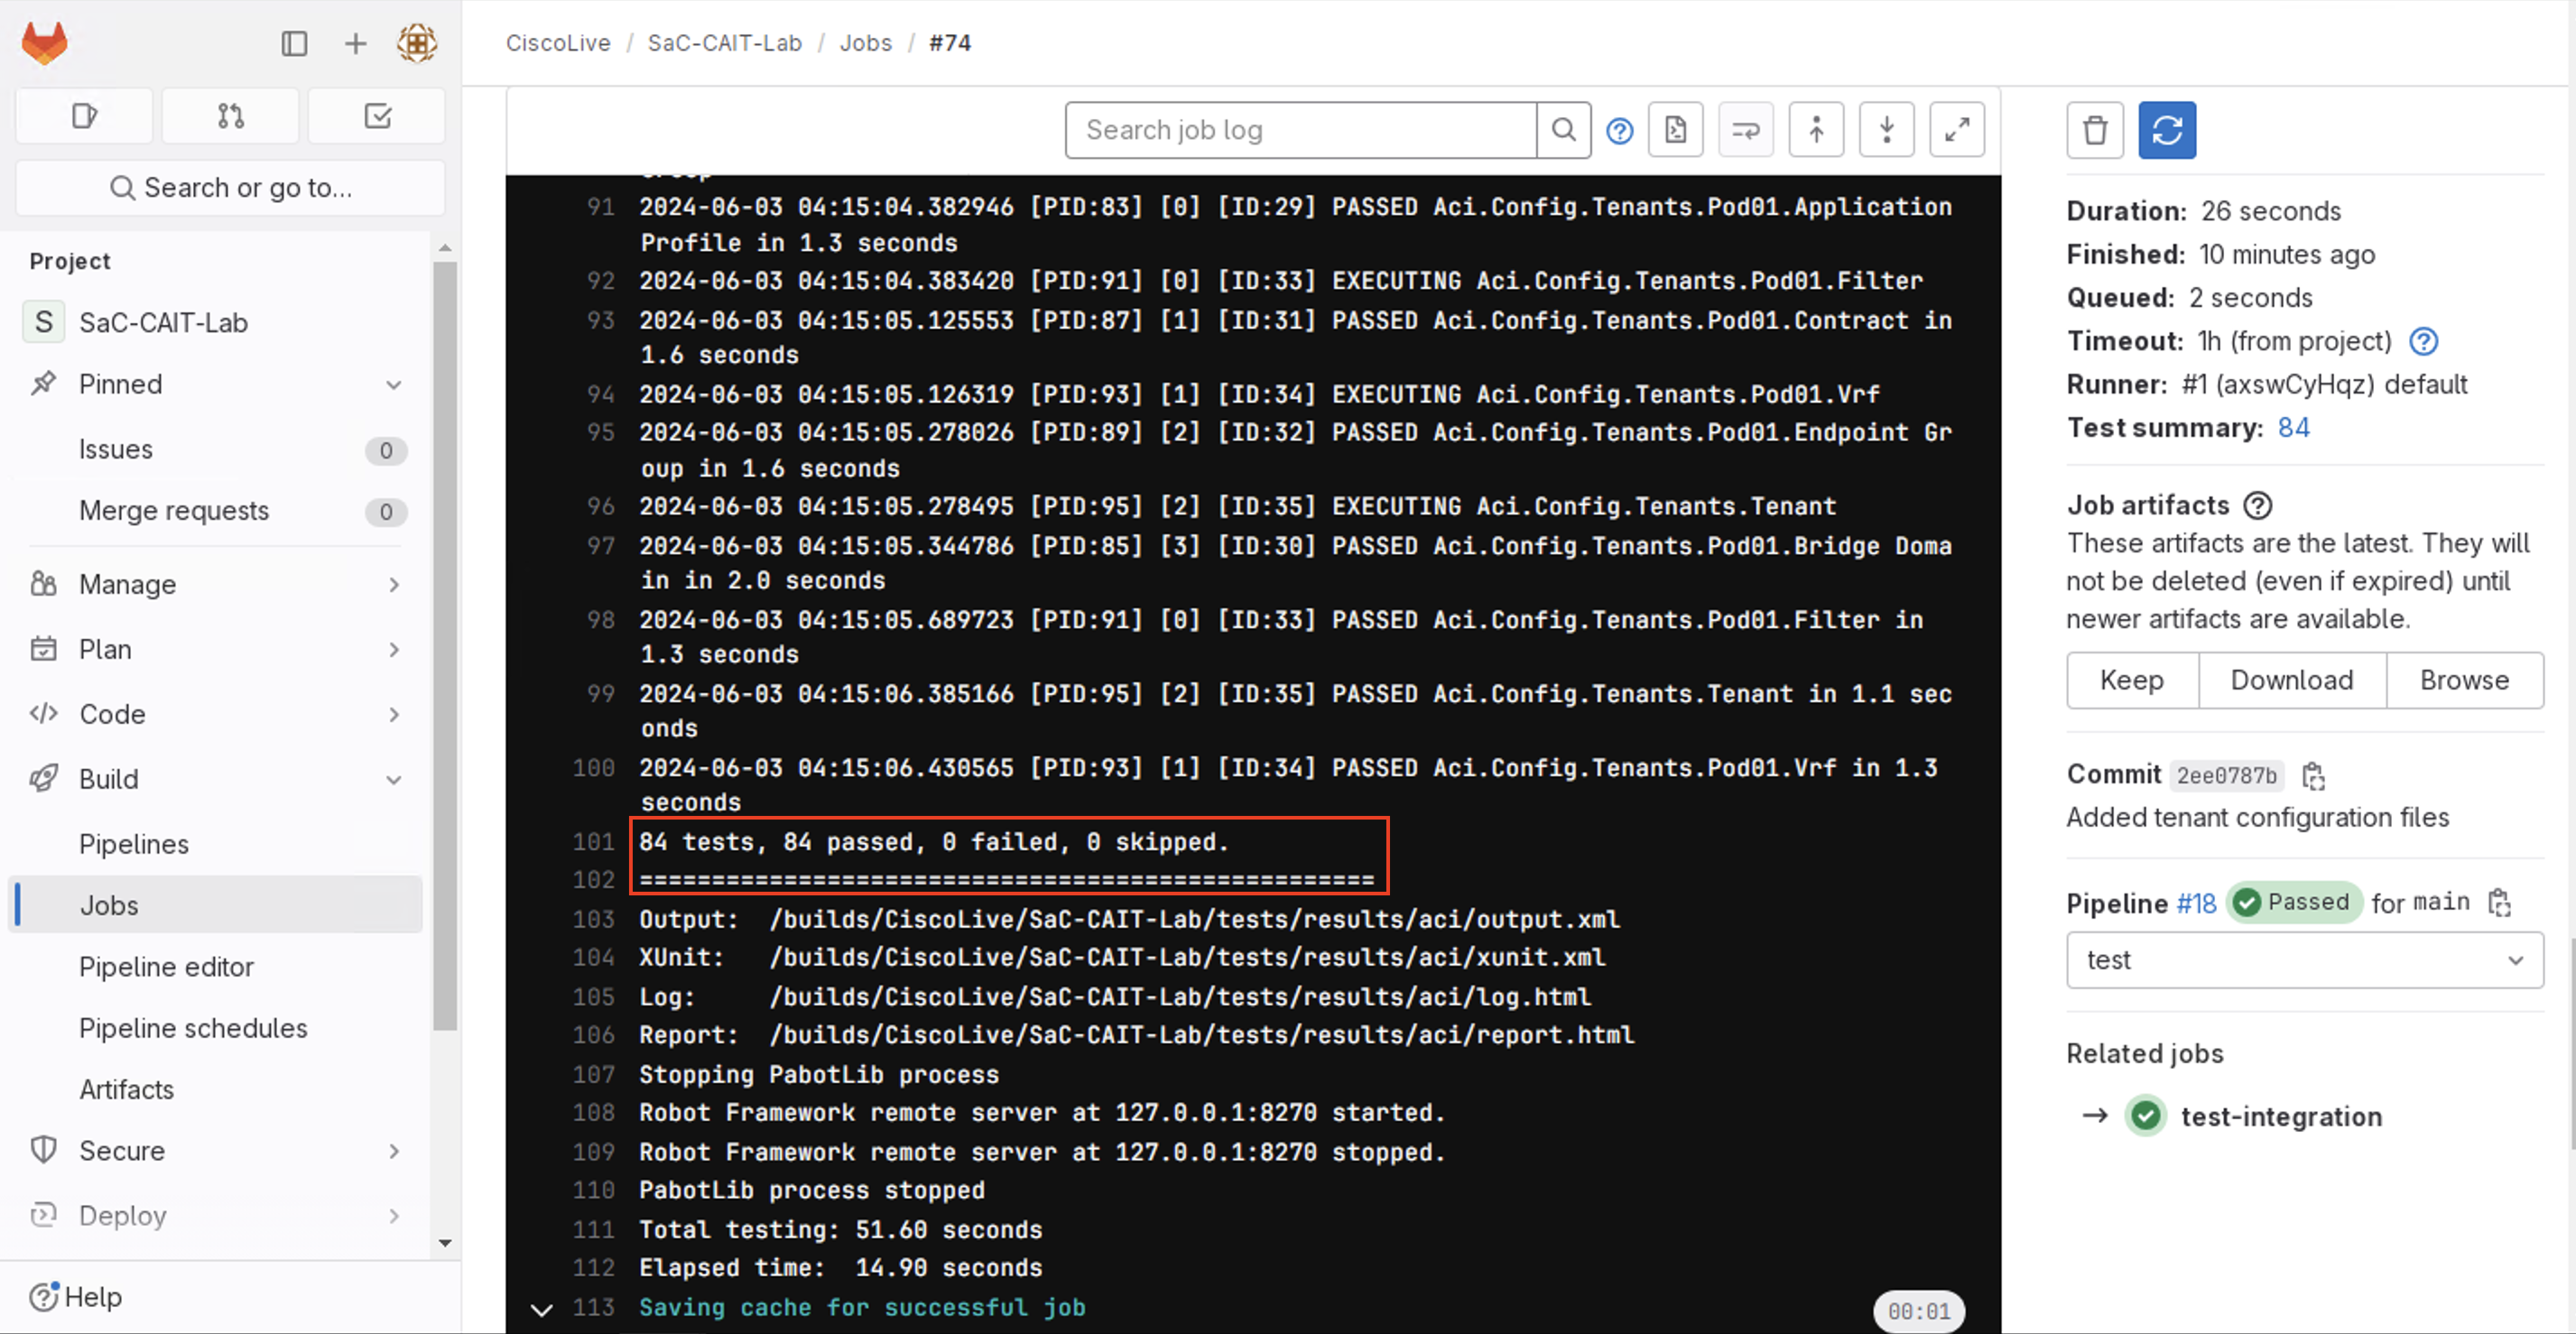
Review the test stage logs by scrolling upwards on the log window to view the test cases executed and the result summary.
The test cases executed in this stage are all configuration verification tests.
The appropriate tests are picked up and executed automaticaly in this stage with the input available from the
configurations YAML files in the data directory.
Continue to the next section to develop additional test case through CXTM Test Automation Manager (CXTM).